Code

Nous utilisons des cookies
Nous utilisons des cookies et d'autres technologies de suivi pour améliorer votre expérience de navigation sur notre site, pour vous montrer un contenu personnalisé et des publicités ciblées, pour analyser le trafic de notre site et pour comprendre la provenance de nos visiteurs.
Vincent D.
22 février 2024
Thanks for popping by; please note that this article is still in construction.
Welcome, fellow data enthusiasts and future quants! Today, we embark on an exciting journey to set up a coding environment that bridges the gap between mathematical theory and the practical world of finance. Whether you’re a student stepping into the field or a practitioner eager to enhance your skills, this guide is your first step towards mastering quantitative finance with Python. Let’s demystify the process and make it enjoyable together.
Open an administrator PowerShell and execute:
Why this trio? Powershell for a superior shell experience, Visual Studio Code (VS Code) for its versatility as a code editor, and Miniconda for managing our Python environments efficiently.
To setup the conda integration for Powershell, once a powershell windows is opened, you can type conda init, this will enable an easier monitoring of the virtual environment.
VS Code shines with its extensions. Here are a few that will make your life easier:
Python: Gives you a host of Python-specific features like linting, debugging, code formatting, and more.
Prettier: A code formatter that supports many languages, including Python. Keeps your code clean and professional.
Code Spell Checker: Like a proof-reader, it catches common spelling mistakes in your code.
You can install these extensions by searching for them in the VS Code Extensions view (Ctrl + Shift + X) and clicking on “Install”.
Why a virtual environment? It allows us to create isolated spaces for our projects, ensuring that our dependencies are managed neatly, without conflicts.
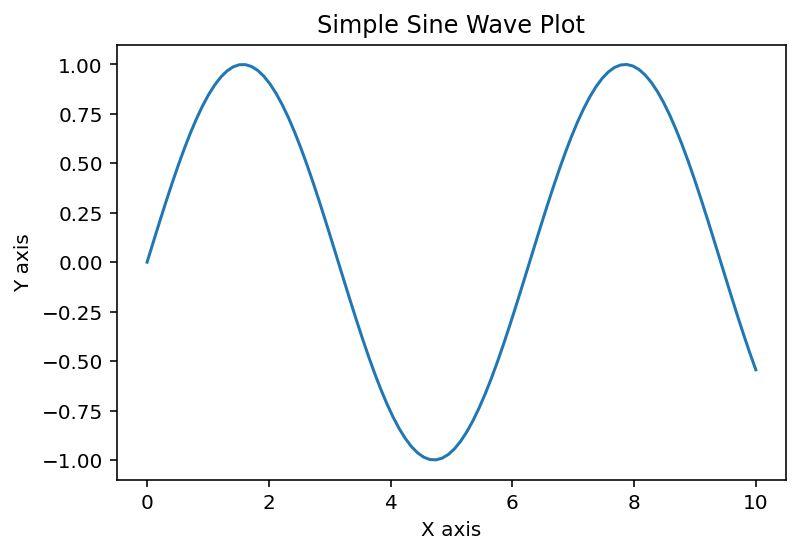
We need to start somewhere! Let’s create a Notebook file (extension .ipynb) within Visual Studio and let’s type the following code.

Et Voila! The first chart in our journey to Python coding.
Congratulations! You’ve set up a robust coding environment for your journey into quantitative finance and data analysis. Today, we’ve installed essential tools with Chocolatey, created an isolated workspace with Conda, and dipped our toes into the world of data visualization with Matplotlib.
Why is this important? This setup not only equips you with the technical skills needed in the field but also instills confidence to explore complex financial models and datasets.
As we progress, remember that the journey is as rewarding as the destination. Keep experimenting, and don’t hesitate to dive deeper into each tool and library we discussed.
This structure offers a blend of instructional content and hands-on coding, making it accessible for beginners while providing enough depth for more experienced learners. The tone is kept light and encouraging, aiming to demystify the complexities of setting up a quantitative finance coding environment.